Import Guide!
Simply Auto supports, Fuel Fill-up, Service Or Maintenance done on the car, Expense incurred on the car and Trips or Mileage records.
Step 1: Prepare the .csv files
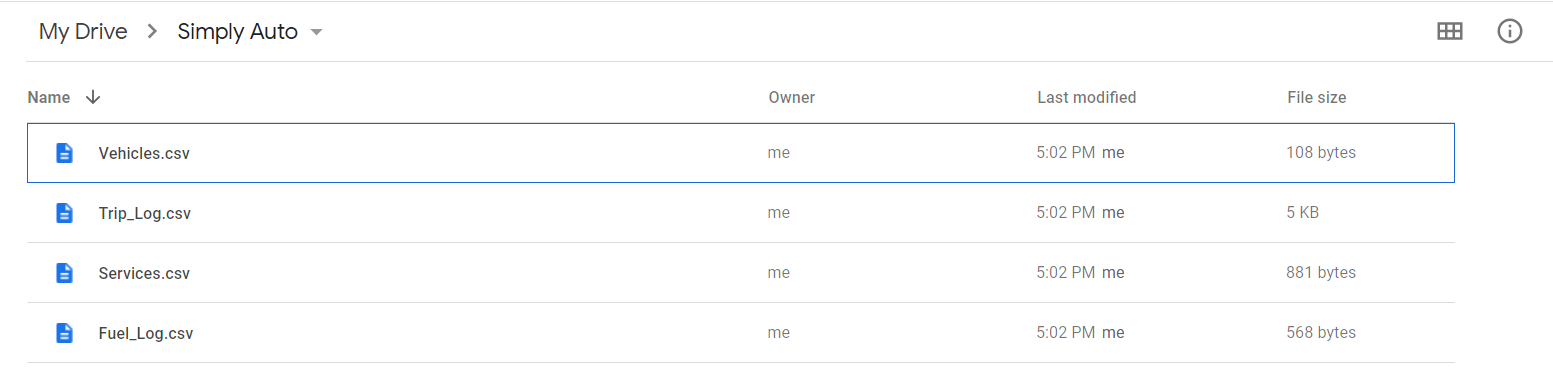
The easiest way to prepare the structure for the CSV (comma separated values) files, is to add a dummy record for each type that you are interested, in the Simply Auto app. Once these records get added, create a manual Google Drive Backup. On your Google Drive, you would see a folder 'Simply Auto', which would contain all the CSV files.
Click here to see the sample files below.
-
Vehicles.csv: This file contains all the details for each car that you have. This file is mandatory for every import.
-
Fuel_Log.csv: This file has records for fuel fillups, services and expenses. All these records get stored with a different 'RECORD TYPE' value. We will explain all these in the section ahead. This file is mandatory for every import.
-
Services.csv: This file has the service details required for any service or expense based reminders that you may have. This file is optional for any import.
-
Trip_Log.csv: This file contains details about your trips and mileage. If you have any Trip data, you can populate this file with all the information.
If you decide to create the structure manually, make sure the column names are spelt correctly as shown below is the structure.
-
Vehicles.csv

-
Fuel_Log.csv

Step 2: Adding data to the .csv files
In this step we will add data to the two files created above
-
Vehicles.csv

-
Row ID – Enter values here in ascending order of the vehicles entered.
-
Make, Model – Fill in either the Make or Model, or both.
-
Year, Lic#, VIN, Insurance#, Notes – These values are not mandatory. They are for your reference only.
-
Picture Path –This is the path that stores the image of your vehicle. This vehicle image is displayed on various screens within the app. For now you can leave it blank. You can add an image for your vehicle by going to the Vehicles screen later.
-
Vehicle ID –This is a required field. This is an alias for your vehicle.
-
-
Fuel_Log.csv

-
Row ID – Enter the values here in ascending order of the Odometer values.
-
Vehicle ID – This needs to be the exact same value you entered in Vehicle ID in the Vehicles.csv file.
-
Odometer – The odometer reading at each fill-up. This is required.
-
Qty – The quantity filled during each fill-up. This is required.
-
Partial Tank – 0, if it was a full fill-up, 1, for a partial fill-up. If you are not sure, then leave it at 0.
-
Missed Fill Up – 1 if there was a break in the fill ups, i.e. you have missed one or more fill ups between the last record and the current one. 0 if there are no missed fill ups. If you are not sure, then leave it at 0.
-
Total Cost –Total cost of the fill up/ service/ expense
-
Distance Traveled – The distance traveled between current and previous fill-up. If left blank or 0 then Simply Auto will calculate this itself.
-
Eff – The efficiency at the time of the current fill-up. If left blank or 0 then Simply Auto will calculate this itself.
-
Octane, Fuel Brand, Filling Station, Notes – Not required.
-
Day, Month, Year – Date of the fill-up.
-
Receipt Path – Leave blank.
-
Record Type – 0 for Fuel Record, 1 For Service Record, 2 for Expense record.
-
Record Desc – 0: ‘Fuel Record’ (without the quotes). 1: Comma separated Service tasks, 2: Comma separated Expense tasks.
-
-
Trip_Log.csv
-
Row ID – Enter the values here in ascending order of the Odometer values.
-
Vehicle ID – This needs to be the exact same value you entered in Vehicle ID in the Vehicles.csv file.
-
Departure Odo – Odometer at the time of departure of the trip.
-
Arrival Odo – Odometer at the time of arrival of the trip.
-
Departure Loc – Location of the trip during departure
-
Arrival Loc – Location of the trip during arrival
-
Departure Day – Day of the month in numericals
-
Departure Month – Month in numericals
-
Departure Year – Year in numericals
-
Departure Hour – Time (hour) as recorded during departure
-
Departure Min – Time (minutes) as recorded during departure
-
Arrival Day – Day of the month in numericals
-
Arrival Month – Month in numericals
-
Arrival Year – Year in numericals
-
Arrival Hour – Time (hour) as recorded during departure
-
Arrival Min – Time (minutes) as recorded during departure
-
Parking – Amount paid for parking during the trip
-
Toll – Amount paid for toll during the trip
-
Tax Ded – Tax deduction as calculated
-
Notes – Notes if any.
-
Departure Latitude – GPS coordinates
-
Departure Longitude – GPS coordinates
-
Arrival Latitude – GPS coordinates
-
Arrival Longitude – GPS coordinates
-
Trip Type – Depending upon the type of Trip. Business/ Personal/Charity/Other
-
Step 3: Place all the files in the ‘Simply Auto’ folder on your Google Drive account (If you have backed up a dummy record, the folder would have been created, if not, please create the folder)
Step 4: Run Restore from within Simply Auto
Go to Menu -> Google Drive Backup/Manual Restore -> Google Drive, and select the Google Drive account where the files are placed
Step 5: Activate a Vehicle
Once the files have been imported successfully, you need to activate a vehicle by going into Menu -> Vehicles. If you face any issues while trying to import data please feel free to write to us at support@simplyauto.app